 Once again, we are sharing a fun holiday craft you can make with basic materials that are available anywhere in the world. (If you missed the project we shared last week, click here.) Today I am sharing a family project that you can make at home and is a great way to entertain kids at a holiday party. It is a 3D Christmas tree centerpiece, which would be fun for kids from 5-15! (Next week we will be teaching you an African version of this project.)
Editor’s Note: This is part one of a two-part post. We will post part 2 next week. If you have scraps of cloth lying around the house from sewing projects or old clothes, assemble them for next week’s project, which will show you how to make a very African version of this project.
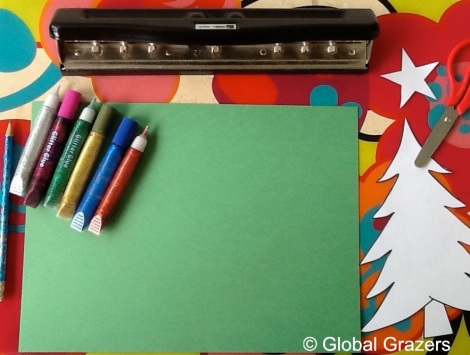
What You Will Need
Scissors
Green Construction paper
Tape (preferably transparent)
Crayons, markers, glitter glue, or tempera paint to decorate
 Our template
Optional: Other colors of construction paper, glue stick, hole punch, stickers
Instructions
1. Organize your supplies. We prefer to preserve our tabletop by working on a plastic mat.
2. Fold a piece of green construction paper in half.
3. Cut it in half.

4.Put the two pieces together, and fold them in half again.

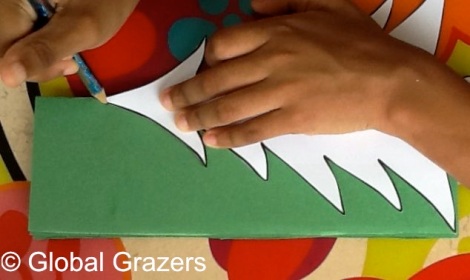
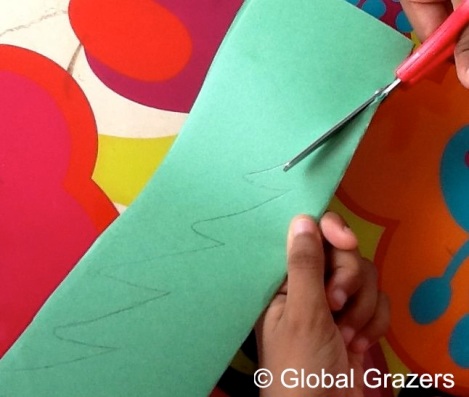
5.Using our template, draw half a Christmas tree opposite the fold.
7. You should have two identical trees.

8.Cut a slit along the bottom half of the center of one tree and along the top half of the center of the other tree.

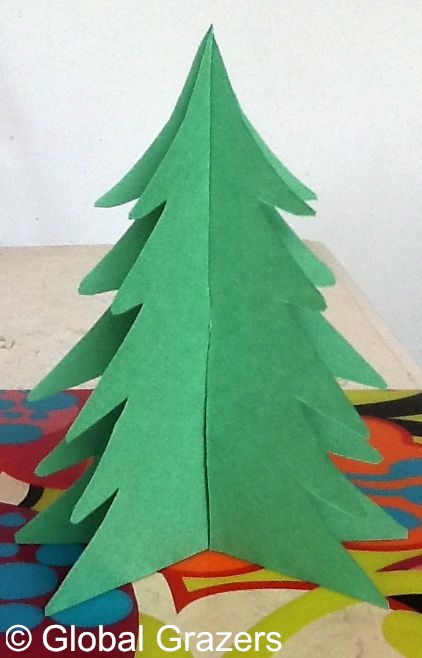
9. Slip the two trees together along the slits. Using tape, tape the bottoms and tops together (pieces of tape on the bottom and at the top make the tree stand up well and stop the slit ends from flopping over).
10. Decorate your tree with crayons, markers, glitter glue, or tempera paint. Or you can glue on tiny construction paper decorations or use star stickers. You can cut out tiny paper balls using a hole punch.

11. Now you have a really nice 3-dimensional Christmas decoration.
Optional: Cut out a small construction paper star and cut a tiny slit in it. Put the star on the top of the tree (and secure it with some tape).
Stay tuned for our other Wintry Weekend posts this December. We will be bringing you many more festive ideas for decorating and entertaining as we do in our African home.
If you haven’t done so already, please sign up to receive My French Heaven’s lovely blog posts and help my mom and dad win a long overdue St. Emilion honeymoon by leaving a comment saying that you were referred by Jeanette from Global Grazers.


Chloe,
This is such a fun project! My daughter will love it. Thank you! 🙂
I am glad that you liked it so much. Thank you. 🙂
Hi, I’ve nominated you for an award. Check it out at http://createdcreate-it.com/2012/12/16/yay-ive-been-nominated-for-an-award/ .
Thank you so much for nominating us most inspiring blog award. 🙂
You’re very welcome!
What a beautiful Christmas tree! Seems to be so easy to make. I used to do origami stuff, but not anymore.
Ahhhh, that is a lovely tree 🙂 Date: Sun, 16 Dec 2012 19:13:02 +0000 To: ruth2day@hotmail.com
What fun! Great illustrations.
This is amazing Jeanette. Very crafty he he. Thanks. Holiday kisses to you and family.